The procedures only apply to the HIFOMACO Model HT-36L Stretch Tester tested.
Calibration of the HT – 36L should be maintained on an annual basis. Use the supplied spring to verify that the machine is reading the same on a daily basis.
The factory following settings should be maintained by at all times:
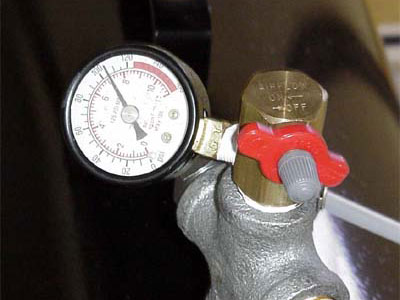
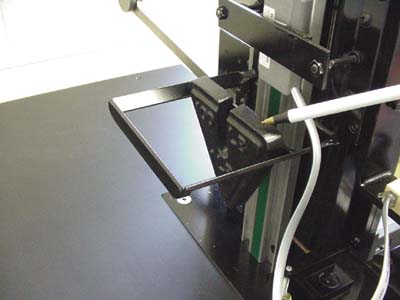
- Supply air – 100 lbs (Figure 1)
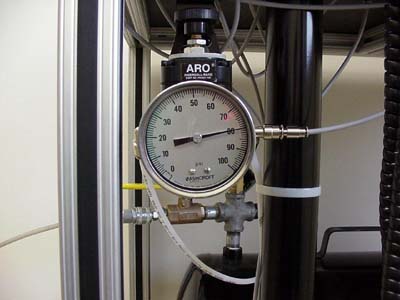
- Regulated air – 80 lbs (Figure 2)
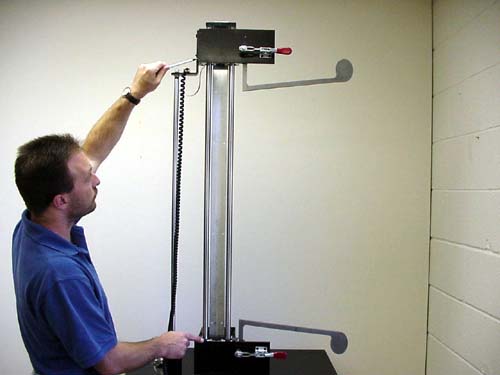
- Cycle time – 6 sec (time for top carriage to move from bottom to top (Figure 3)
- Added bottom weight – 1 lb. (Figure 4)
Each day confirm calibration of the machine by running 10 stretches with the test spring supplied. If the readings are within specified tolerance begin your sock measurements. The test spring and its' mounting is currently under development.
Once per month confirm that the test spring is pulling the same by measuring it’s extension at 10 pounds (10 lb. weight supplied). Compare that reading to the measurement taken when the spring was new. When a difference is noted, replace the spring with a new one from the machine supplier.
Each sock can be measured only once. All measurements on different sock profiles should always be taken at the same place.
Begin with length stretch and then measure cross stretch on each sock.
Have the sock fabric for each measurement as straight as possible. Note that the minimum relaxed length and cross stretch to measure is 3 inches.
Procedure for measuring length stretch
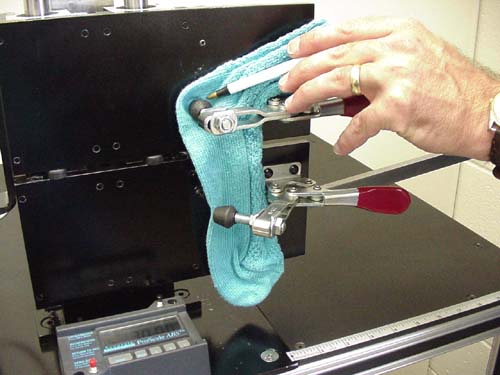
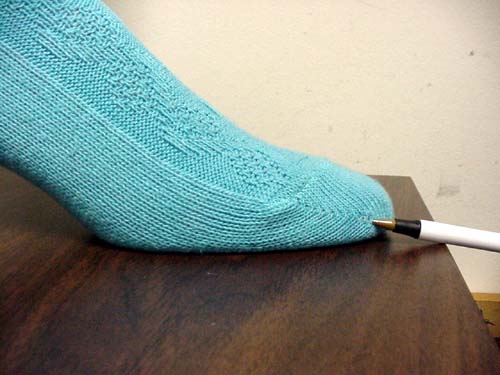
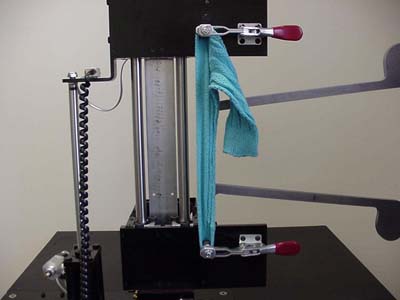
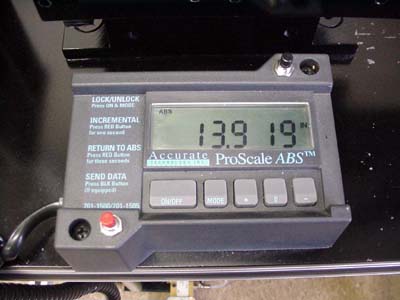
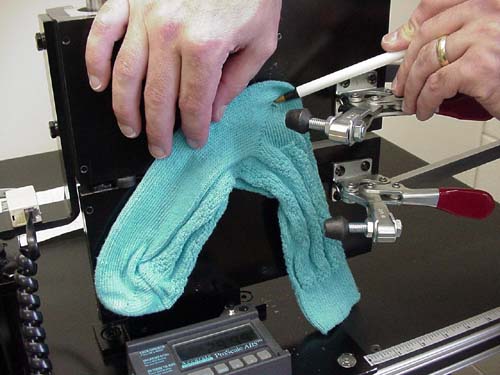
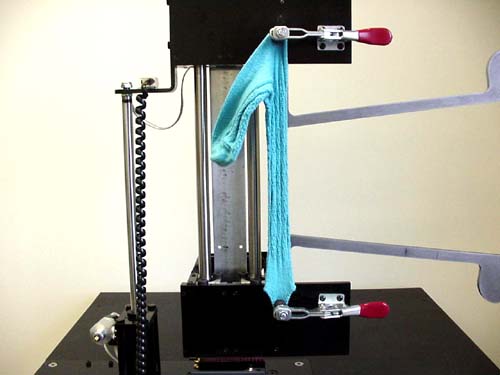
Leg: Place the outside heel gore (Figure 5) at the center of the top clamp pin (Figure 6). Place the sock top where the top of the top clamp pin is located at the midpoint of the sock top (Figure 7). Depress the pedal until the machine travel stops and record the reading from the display (Figure 8,13).
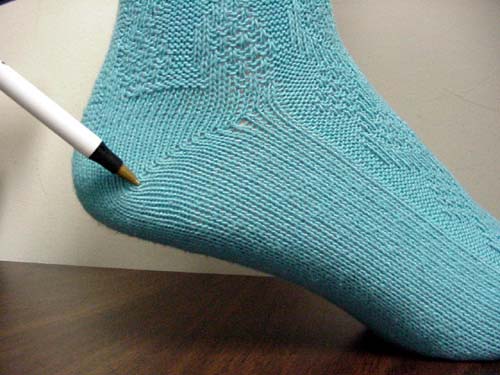
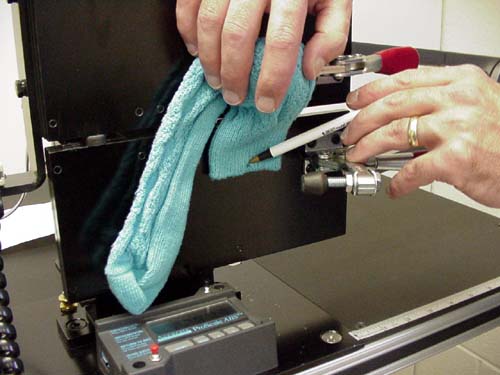
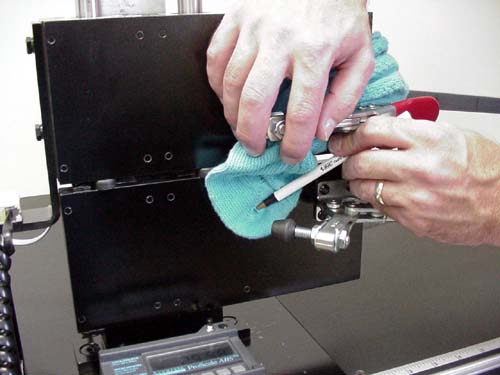
Foot: Loosen the top clamp (taking care not to remove the heel gore from the pin), and spin the sock 180 degrees until the toe is pointed downward toward the center of the bottom clamp pin (Figure 9). Relock the top clamp on the sock. Place the outside toe gore (Figure 10) at the center of the bottom clamp pin (Figure 11). Depress the pedal until the machine travel stops and record the reading from the display (Figure 12,13).